1 Overview
The Application Template in SoftwareCentral is used to ease the creation of applications in SCCM. They are utilized in a number of interfaces, including the quick wizard and the package conversion page.
Creating a template is quick and easy and it will be demonstrated how and what can be configured in this guide.
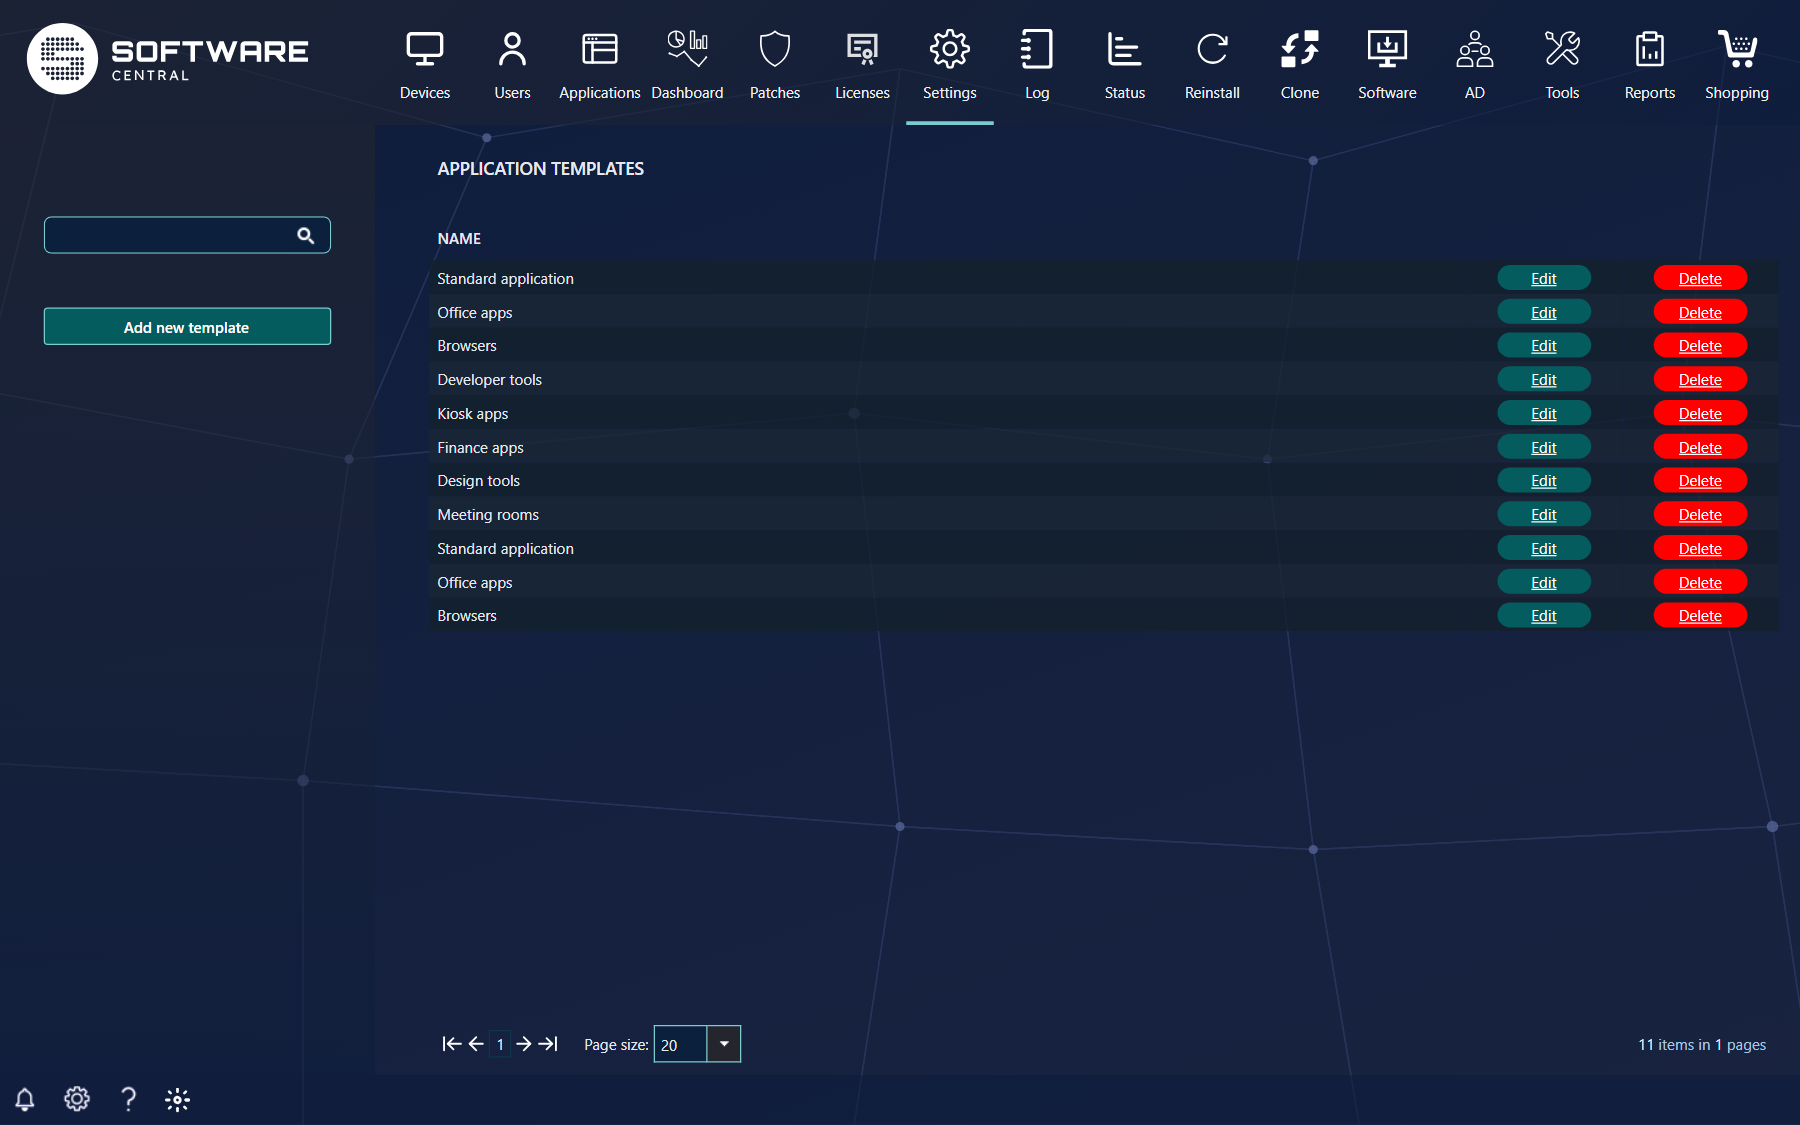
2 The template list
In this view you will see all existing application templates. The view also allows the opening of editing and creation of application templates, as well as allowing for deletion of templates.
Use the search field and the site selector to find a template. Clicking the Add new template button will open a new window in which you can begin setting up a new template for applications.
Clicking a template name, or the Edit button at the end of a row, opens a window containing the settings of the template. Clicking the Delete button asks you to confirm and then removes the template.
3 New Application Template
The template must be assigned a unique name. If the name is already used, SoftwareCentral adds a number, for example “My template (2)”.
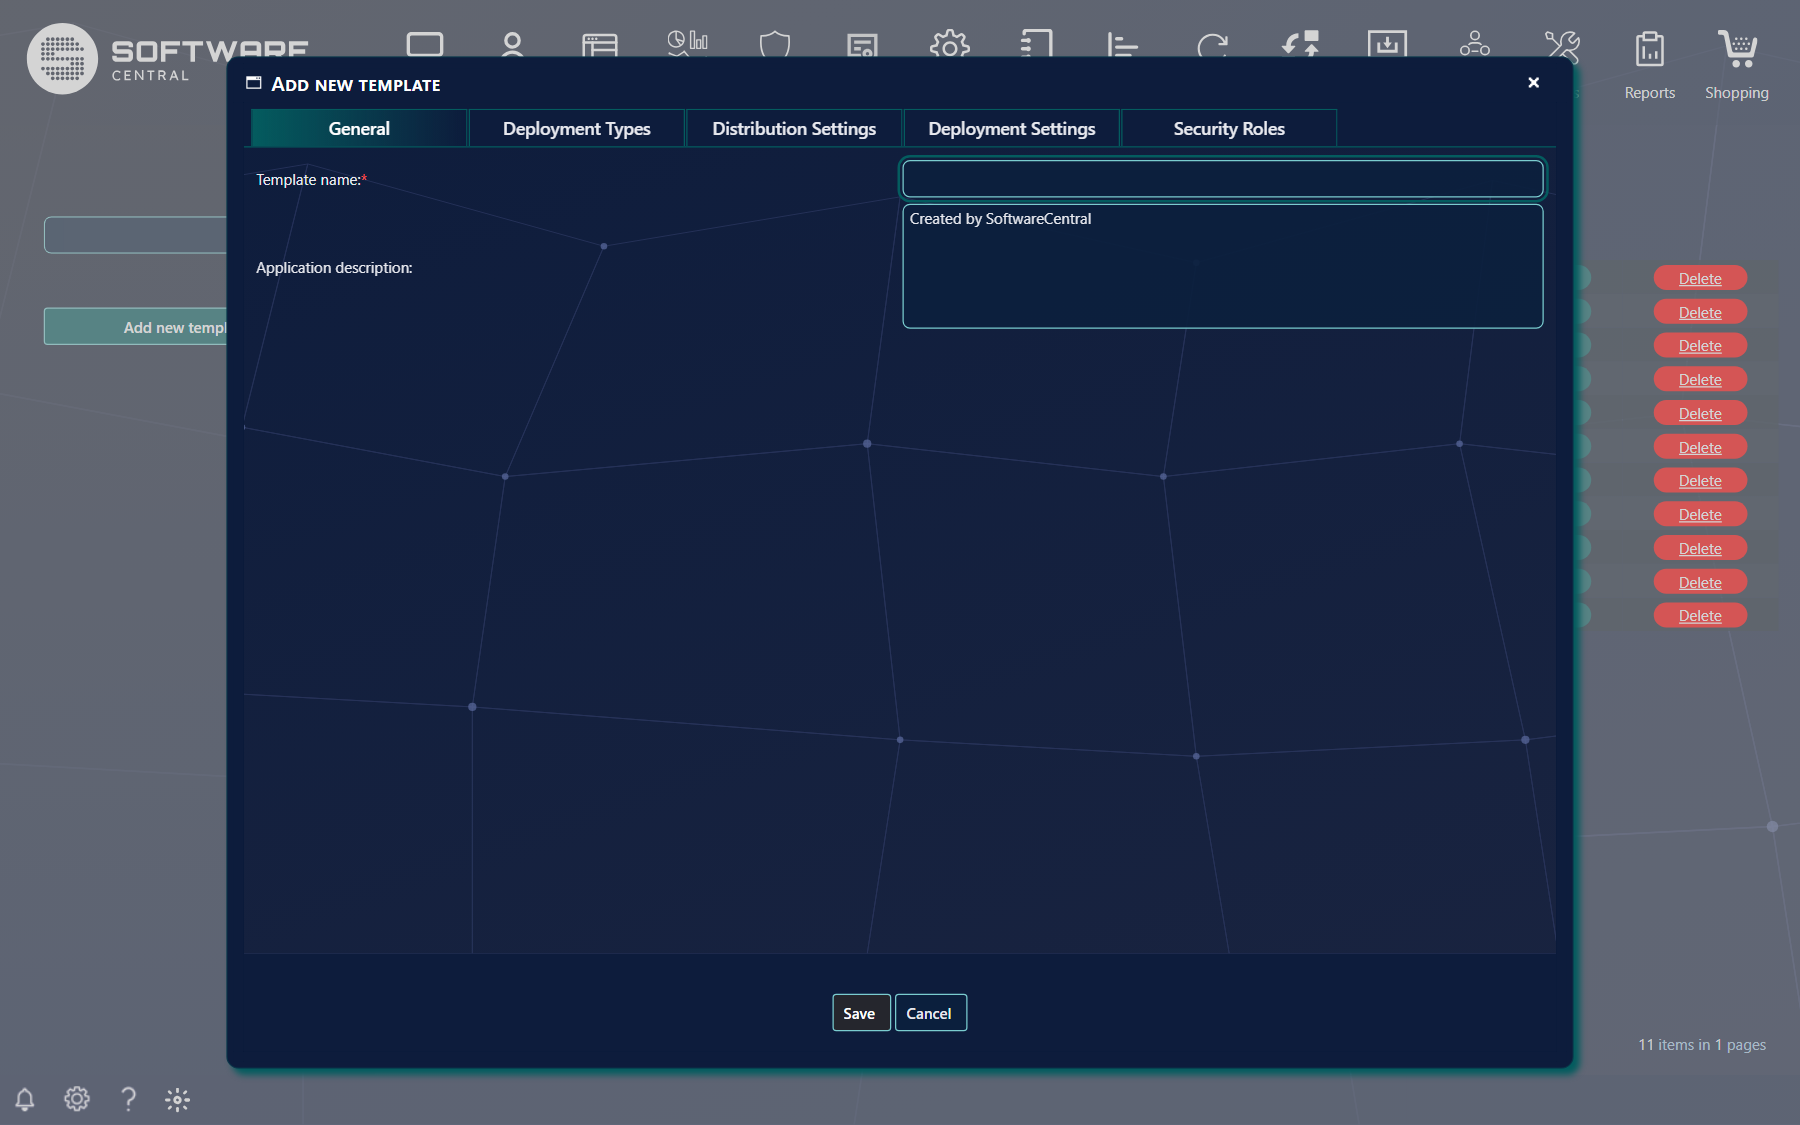
General
Template name (required) and Application description, which is visible in Application Management and in ConfigMgr.
Deployment types
This tab defines the settings which will be applied to the applications deployment types.
| Setting | What it does |
|---|---|
| MSI Additional Commands | Added to the MSI install command. Default ALLUSERS=2. |
| MSI Repair Program | Default Msiexec /fvmp {product_code}. You can add {product_code}. This tag will be replaced by the actual product code when the application is imported. |
| Script/EXE install / uninstall / repair arguments | Arguments added to scripts and executables. In the install arguments and MSI additional arguments you can add {manufacturer}, {applicationname}, {version} and {language}. These tags will be replaced by the actual values when importing the application. |
| Select Operating Systems the template covers | The supported operating systems, with Select all 32 Bit and Select all 64 Bit. |
| Content options | Persist content in client cache, Allow clients to share content with other clients on the same subnet, Allow clients to use a fallback source location for content, and Run installation and uninstall program as 32 bit process on 64 bit clients. |
| Deployment Options | Do not download content or Download from Distribution Point and run locally. For App-V there are also options for fast and slow networks (download and run locally, or stream). |
| Installation Behavior | Install for user, Install for system / Provision for all users or Install for any (system for a device, user for a user). |
| Logon Requirement | Only when a user is logged on, whether or not a user is logged on, or only when no user is logged on. |
| Installation Program Visibility, Allow User Interaction | How the installation shows on the client (Maximized, Normal, Minimized, Hidden) and whether users may interact with it. |
| Maximum Allowed Run Time, Estimated Run Time | Run times for the deployment type. |
| Post-installation behaviour | Determine behaviour based on return codes, no specific action, the program might force a restart, or the Configuration Manager client will force a mandatory restart. |
| Edit Return codes | Opens the list of return codes. |
| Use an automatic VPN connection (if configured) | Only applies to MSIX applications. |
Distribution settings
The third tab contains settings for distribution. More specifically it allows setting up distribution points, distribution point groups, Package Security Groups, SCCM application folder, and download rules of the content (Distribution Settings, and Distribute to preferred distribution points for on-demand distribution) and MECM security scopes.
Deployment settings
The deployment settings tab shows settings related to the deployments.
| Setting | What it does |
|---|---|
| Device Purpose / User Purpose | Whether the application is available or required (the default is required). This specifies whether or not the application is required. |
| Time based on | What time zone it is based on: UTC (GMT) or client local time. |
| Auto Install | Enable this, to allow the application to be installed by a Software Group (Task Sequence). The installation behaviour must then be System, otherwise saving fails with a message. |
| Allow Repair | Lets end users attempt to repair the application. |
| User notifications | If user notifications are to be displayed in the Software Center, showing all, some or not shown at all and hidden in Software Center. |
| Override Service Windows | Lets the application install or uninstall outside the maintenance window when the deadline is reached. |
| Only create Device Collections | Do not create user collections: this will disable the automatic creation of user collections in the SCCM. The application will not be available for user deployment. |
| Implicit Uninstall | Uninstall the application if the targeted object falls out of the install collection; no device uninstall collections are created. |
AD-Deployment
You can enable the applications for AD-Deployment (on the Deployment Settings tab). This will automatically create an AD-Group for each collection created, and “assign” the AD-Group to the collection via a query rule.
Computers and users will then be added to the AD-Group instead of being added to the collection via direct membership rules.
Note that you must provide a domain name (AD-Group Domain Name), which is used in the query rules, and an Organizational Unit (AD-Group Organizational Unit) where the AD-Groups will be added in the Active Directory. Saving without them gives the messages A domain is required when AD-Deployment is enabled. and An Organizational Unit is required when AD-Deployment is enabled.
Security roles
The security roles tab allows you define which security roles can use this application template.
When you have finished adjusting the settings to fit your needs, then click the Save button to save your work. The newly created application template will now appear in the list of templates. Or click Cancel to return to the list view without committing the inputted data.
4 Edit Application Template
Clicking an Edit button in the list view will open up a new window in which you will see all previously entered data concerning the selected template.
The settings that are available to change are equal to those in the New Application Template section. Changing a template does not change applications that were already created from it.
5 Delete Application Template
Click on a Delete button to delete the selected template, and confirm.
6 Use default template
From the settings menu under “SoftwareCentral -> Interface Settings -> Default Application Template” you can define a template that will be pre-selected when users import applications. The users then start in the file selection step of the wizard instead of in the template step.
7 Best practice
- Start a new template from the settings you use most, then change only what differs.
- Use the {manufacturer}, {applicationname}, {version} and {language} tags in arguments, so one template fits many applications.
- Do not enable Auto Install together with Install for user; Software Group installs need the system context.
- When you use AD-Deployment, create the OU first and test with one application.