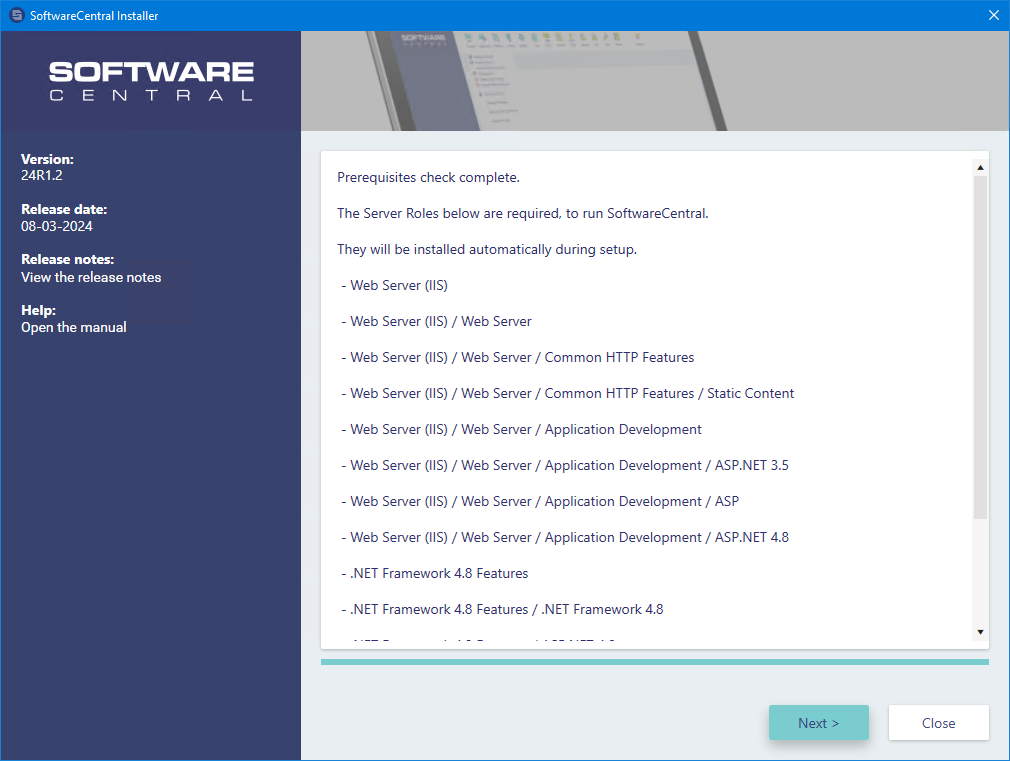
1 Requirements check
On the first screen, the installer checks that the server meets the minimum requirements. Follow any messages it shows.
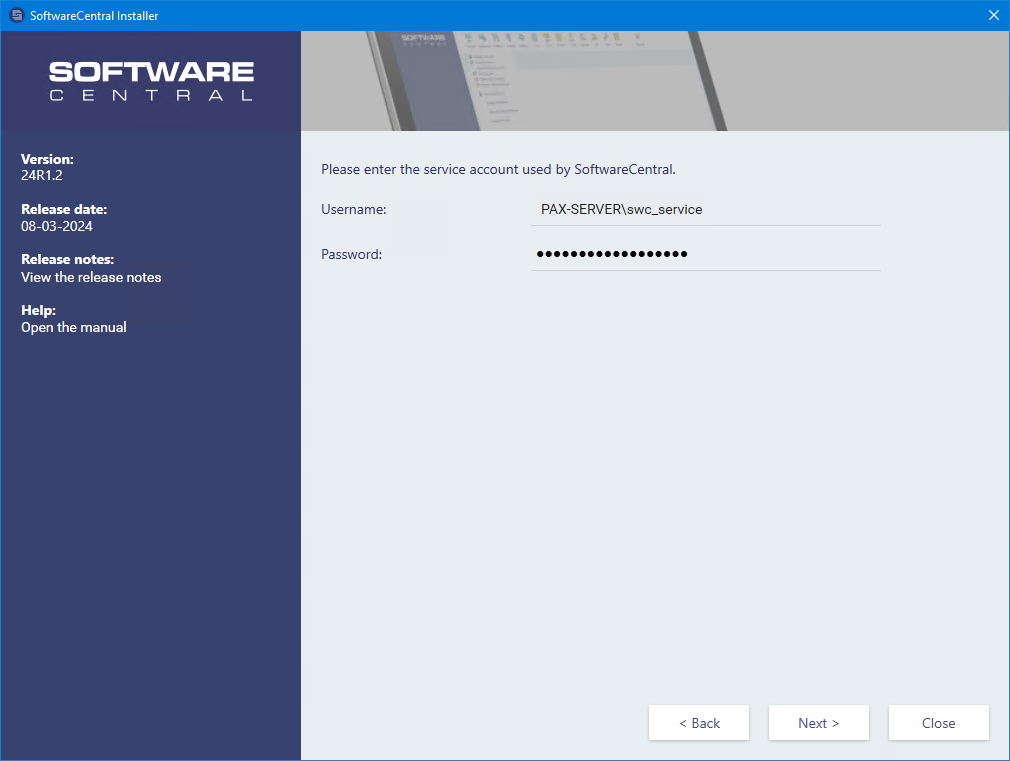
2 Service account
Enter the service account credentials. For ConfigMgr and hybrid environments this must be a domain user. For Intune-only installations it can be a local account in the format servername\username. The service account must be a local administrator.
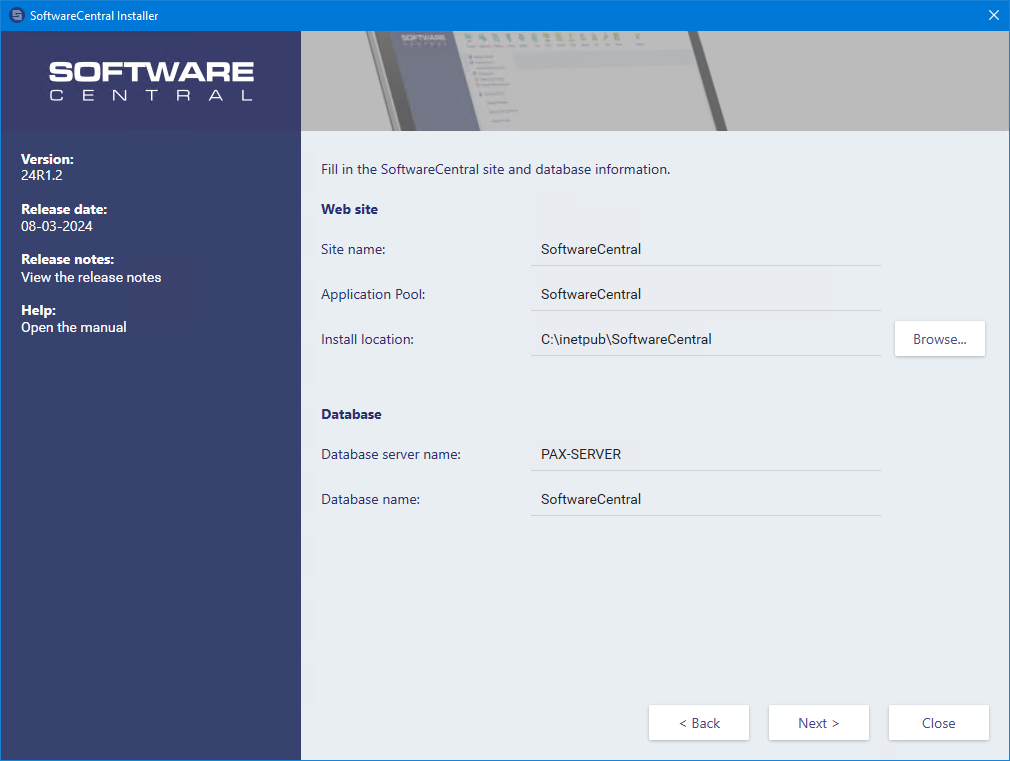
3 Site and database information
Provide the site information for SoftwareCentral. It is recommended to use the default names and paths.
- Enter the server name for the SoftwareCentral database. If the database is not on the default instance, include the instance name as
servername\instance. - If you use an Azure database, use
servername.database.windows.net.
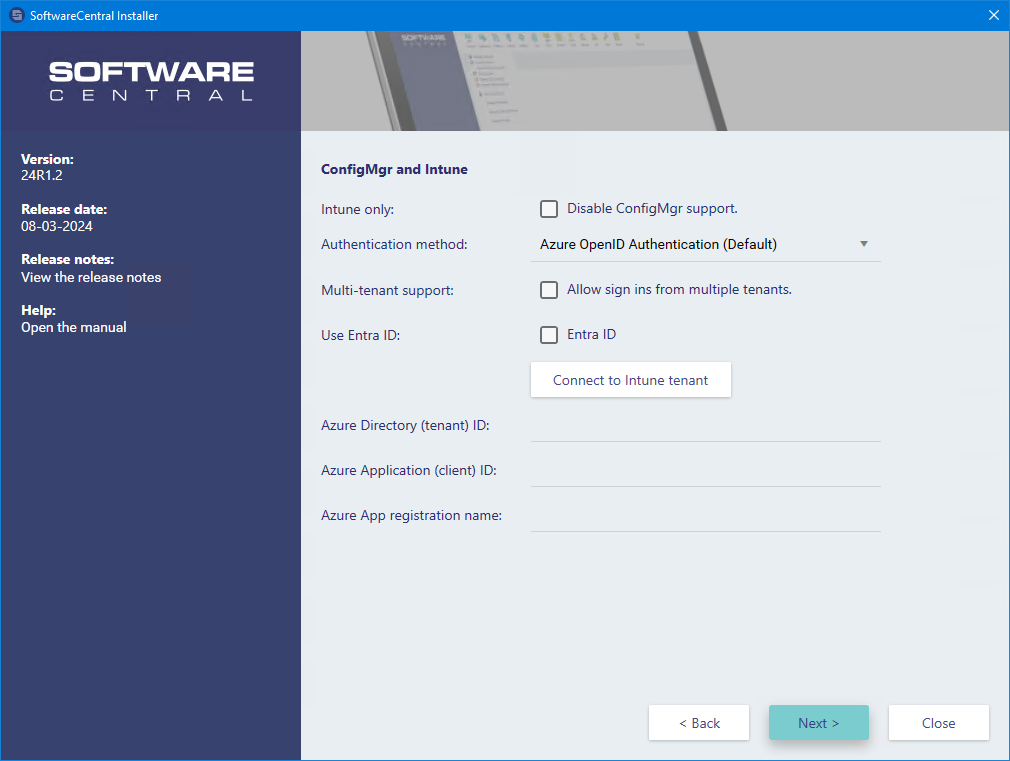
4 Edition, authentication & Intune
ConfigMgr support
Choose whether to install SoftwareCentral as an Intune-only version or with ConfigMgr support. Choose Disable ConfigMgr support to use the Intune-only version.
Authentication method
By default, SoftwareCentral uses Azure OpenID authentication, where users sign on with their work account. This option also offers multi-factor authentication and single sign-on (SSO).
You can instead use Windows Authentication, where users sign on automatically with their local Windows account. This requires an on-premise Active Directory, and only domain users can access SoftwareCentral.
Multi-tenant support
Enable this to allow users from multiple Intune tenants to sign on. Only users from tenants added to SoftwareCentral can access it.
Use Entra ID
Get group memberships from Entra ID instead of the on-premise Active Directory.
Connect to Intune tenant
Click Connect to Intune tenant to connect SoftwareCentral to your Intune tenant automatically (you can add more tenants after installation). A browser window opens, prompting you to sign on to Azure — use an account that can register an app with Microsoft Entra ID and assign the required permissions. After connecting, you must grant admin consent to the new API permissions; a link to do so is shown in the installer after a successful connection.
You can also create the app registration manually. For Azure OpenID authentication you must create it before you continue the installation — see Azure App Registration. For hybrid environments, you can connect to Azure from the Settings menu after installation — see Intune Configuration.
5 ConfigMgr ConfigMgr connection
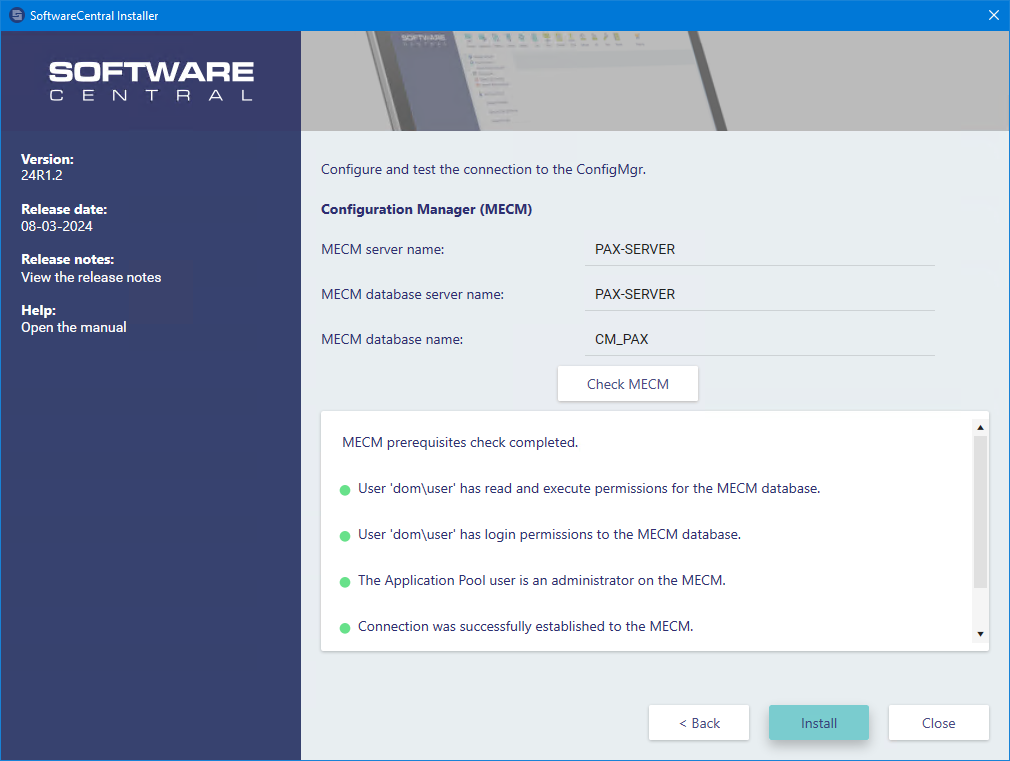
If you install SoftwareCentral with ConfigMgr support, you will see a step to enter your Configuration Manager (MECM) details. Click Check MECM to verify the connection and create the login for the MECM database. The required permissions are listed under Prerequisites; assign them manually if the installer is unable to.
6 Install
When you click Install, SoftwareCentral is installed.
If anything goes wrong, the installer highlights the errors with suggestions on how to resolve them. A log file named SoftwareCentralInstaller_Log.txt is generated in the same folder as the installer and contains more details about any errors.
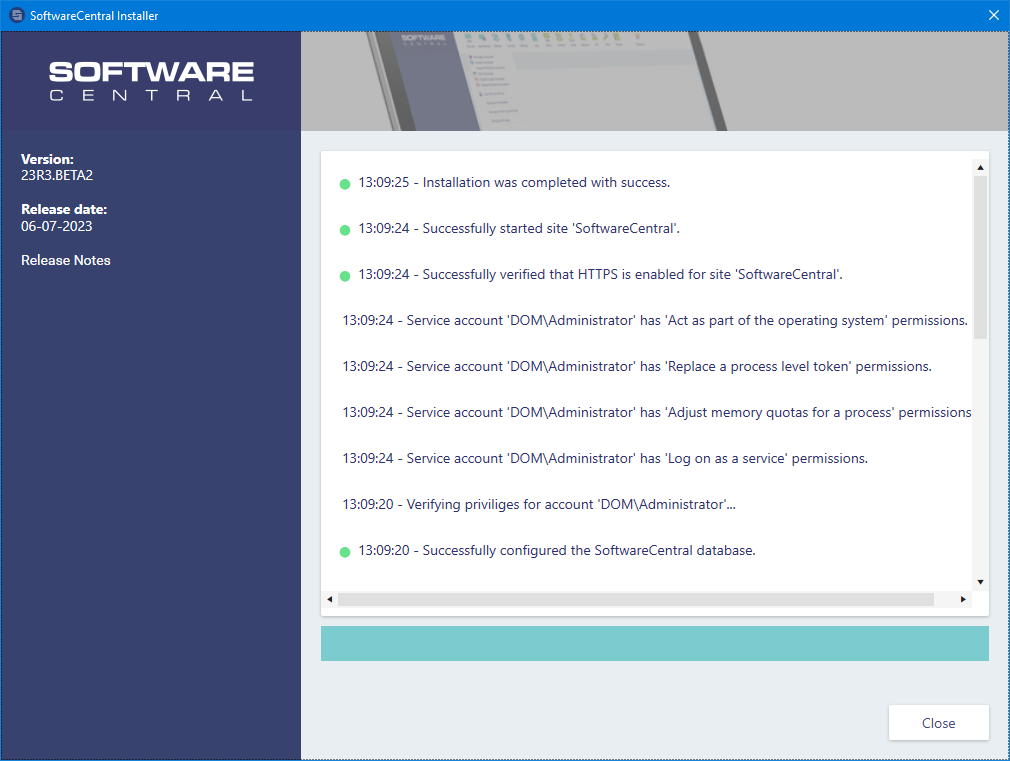
Once the site is installed, continue to First-time configuration.
📄 Original page: Install SoftwareCentral