1 Where you create a phased deployment
You can create a phased deployment in two places. Use the Phased Deployments page, which has every option. The Create Deployment Plan window also offers a phased deployment, but only to some roles, and it needs a deployment template.
| Where | Who sees it | What you need |
|---|---|---|
| Phased Deployments page, Create Phased Deployment | Roles that have access to the phased deployments. | Nothing else. A template is optional. |
| Create Deployment Plan window, job type Create Phased Deployment | Roles with the permission to create phased deployments, on Configuration Manager 1806 or later. | At least one deployment template. |
2 Create it on the Phased Deployments page
Open the Phased Deployments page and click Create Phased Deployment. A window opens with two tabs, General and Phases. Fill in the General tab, then add the phases on the Phases tab.
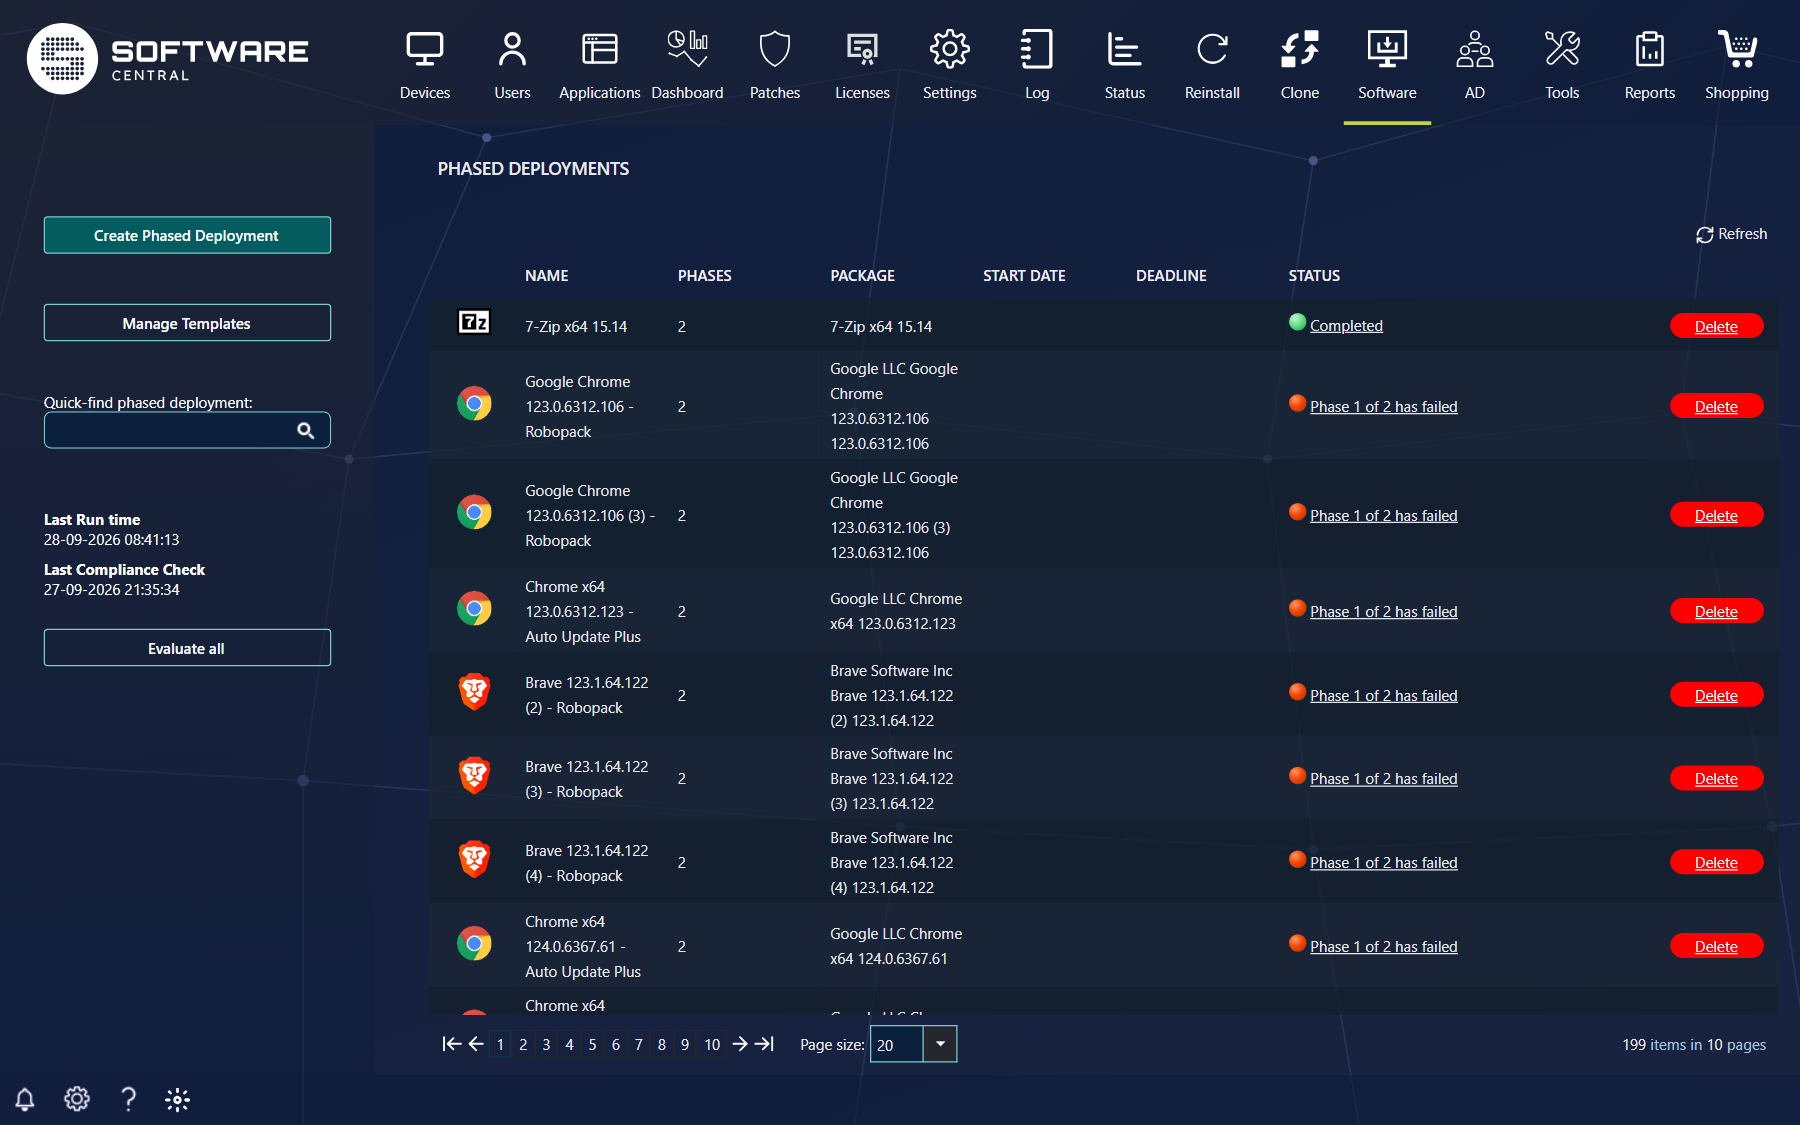
3 The General tab
The General tab holds the settings for the whole deployment. Fields marked with an asterisk (*) are required.
| Setting | What it does |
|---|---|
| Template (optional) | Loads the settings and the phases from a template. Create templates with Save as template (see below) or on the Manage Templates window. |
| Software * | The package to deploy. Choose it from the list. |
| Name * | Gives the phased deployment a name, to make it easier to find in the list and in the Configuration Manager console. The name must be unique; upper and lower case are not compared. |
| Start at (optional) | Choose a start date for the first phase, if you do not want it to start immediately. |
| Deadline (optional) | When the deadline is reached, the software is deployed to all the remaining phases, whether or not the success criteria are met. |
| Collection (optional), or Group (optional) for Intune | Limits every phase to the members of one collection or group. Each phase then targets only the members of its own collection or group that are also members of this one, so the same phases can be used for small and large rollouts. If it is empty, each phase uses its own devices. |
| Skip the phase and continue with the next one | Under When a phase is empty. If it is not ticked, a phase that has no devices waits until devices that match its filters are added to its collection or group. |
| Send notifications to | E-mail addresses to notify, separated by commas. |
| Notify when | All phases are completed, A phase has met its success criteria, and A phase has not met its success criteria after a number of days (1 to 180, default 7). All three are ticked by default. |
| Assign as (Intune only) | Whether the Intune application is assigned to the users and devices in each phase as Required or Available, or Use the setting Install Intune As Available. |
4 The Phases tab
Add one or more phases. Each phase has its own devices, success criteria, approval and timing. Set the values, then click Add Phase >>.
| Setting | What it does |
|---|---|
| Devices * | Choose a collection, or click Select Devices and pick the devices for this phase yourself. For Intune, choose an Intune group. A phase needs a collection or devices. |
| Success Criteria | Deployment success percentage (default 95, from 1 to 100), or Number of devices successfully deployed. When the criteria are met, the next phase begins automatically. |
| Approval required | The phase can only begin after it has been approved manually. |
| Deployment Time | A start time, a weekday (Any Day, or Monday to Sunday), and Wait at least a number of hours (default 0) hours after the previous phase is completed. 0 starts the phase as soon as possible; 24 hours is one day. |
The phases appear in the list below the settings as Phase 1, Phase 2 and so on, each with an Edit and a Delete link. To change a phase, click Edit, change the settings, and click Update Phase; click Cancel to leave it as it was. To remove a phase, click Delete and confirm. The removal cannot be undone.
5 Deploy, or save as a template
Click Deploy to create the phased deployment. Deploy is available when a package is chosen and at least one phase has been added. When you change an existing phased deployment, the button reads Update.
To reuse the settings, click Save as template. Type a Template Name (up to 50 characters) and click Save. The template keeps the settings and the phases. Load it later with the Template box on the General tab.
Click Cancel to close the window without saving.
6 Create it from Create Deployment Plan
If your role may create phased deployments and your Configuration Manager site is version 1806 or later, the Create Deployment Plan window also offers Create Phased Deployment as a job type. This route uses a deployment template, which holds all the predefined settings. You need at least one template before you can use it.
Job Type: choose Create Phased Deployment and click Next. The steps change to Deployment settings and Computers, and then Schedule.

Deployment settings: choose a Select Deployment Template and a Select Application. Both are required. The name and the description are optional. If you leave the name empty, a name is generated from the application and the date. Click Next.
Computers: if the template uses static collections, the members of those collections are shown in each phase's list. Otherwise click Select Resources for Phase 1, and then Select Resources for Phase 2. In the Select resources window, filter the resources you need, tick them, and click Select x Resources, where x is the number you have ticked. The window then returns you to the Computers step.

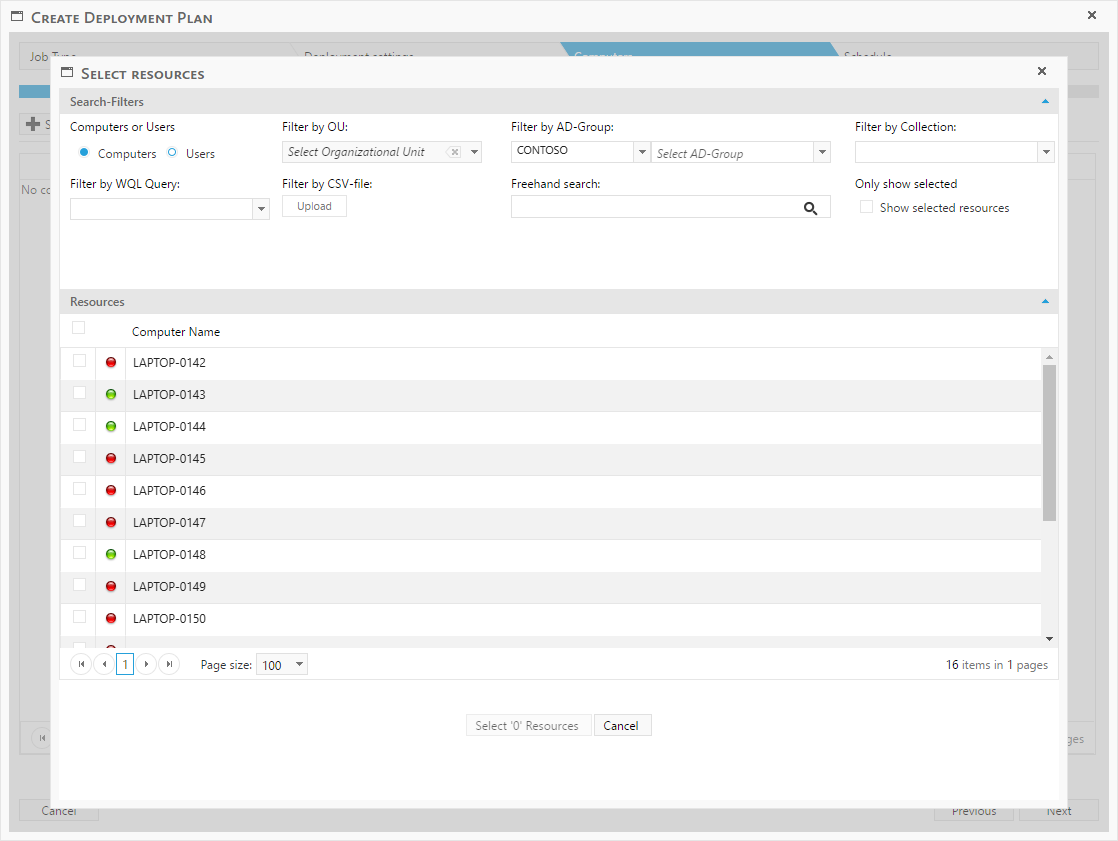
When the resources are selected for both phases, click Next and then Finish to complete the phased deployment.
7 Follow the deployment
Use the Deployment Monitor to see the status of each phase.
8 Best practice
- Give every phased deployment a name you can find again. The name is required and must be unique, and it is the way to find the deployment in the list and in the Configuration Manager console.
- Set a deadline on rollouts that must finish. When the deadline is reached, all the remaining phases are deployed, even if their success criteria are not met.
- Keep Skip the phase and continue with the next one off unless an empty phase is acceptable. When it is off, a phase with no devices waits until devices are added to its collection or group.
- Use Approval required before a large phase. The phase then waits for someone to approve it, so a problem in an earlier phase can be checked first.
- Save the settings you reuse as a template. The template keeps the phases as well as the settings, so the next rollout starts from the same plan.
9 Troubleshooting
| Symptom | Cause | What to do |
|---|---|---|
| Deploy is greyed out | No package is chosen in Software, or no phase has been added. | Choose a package on the General tab, and add at least one phase on the Phases tab. |
| “You must select a package.” | The Software box is empty when you click Deploy. | Choose a package. |
| “You must enter a name.” | The Name box is empty. | Type a name. |
| “Name already exists.” | Another phased deployment has the same name. Upper and lower case are not compared. | Choose another name. |
| “No devices selected” when you add a phase | The phase has no collection and no devices selected. | Choose a collection, or click Select Devices, and then click Add Phase >> again. |
| “There are only 'N' license(s) left. You have selected 'M' device(s).” when you click Deploy | The devices in all the phases together are more than the licences left for the package. | Reduce the devices in the phases, or get more licences for the package. |
| “The license for this package has expired. Installations may not be not be completed.” after you choose the software | The licence for the package has expired, and the package is set to block installations. | Check the licence for the package before you deploy. |
| Create Phased Deployment is greyed out in Create Deployment Plan, with the tip “A deployment template is mandatory, please create a deployment template to create a phased deployment” | There is no deployment template yet. | Create a template in Deployment Templates, then open the window again. |
| “A template must be selected” or “An application must be selected” in Create Deployment Plan | The Select Deployment Template or Select Application box is empty. | Choose the template or the application. |