1 Overview
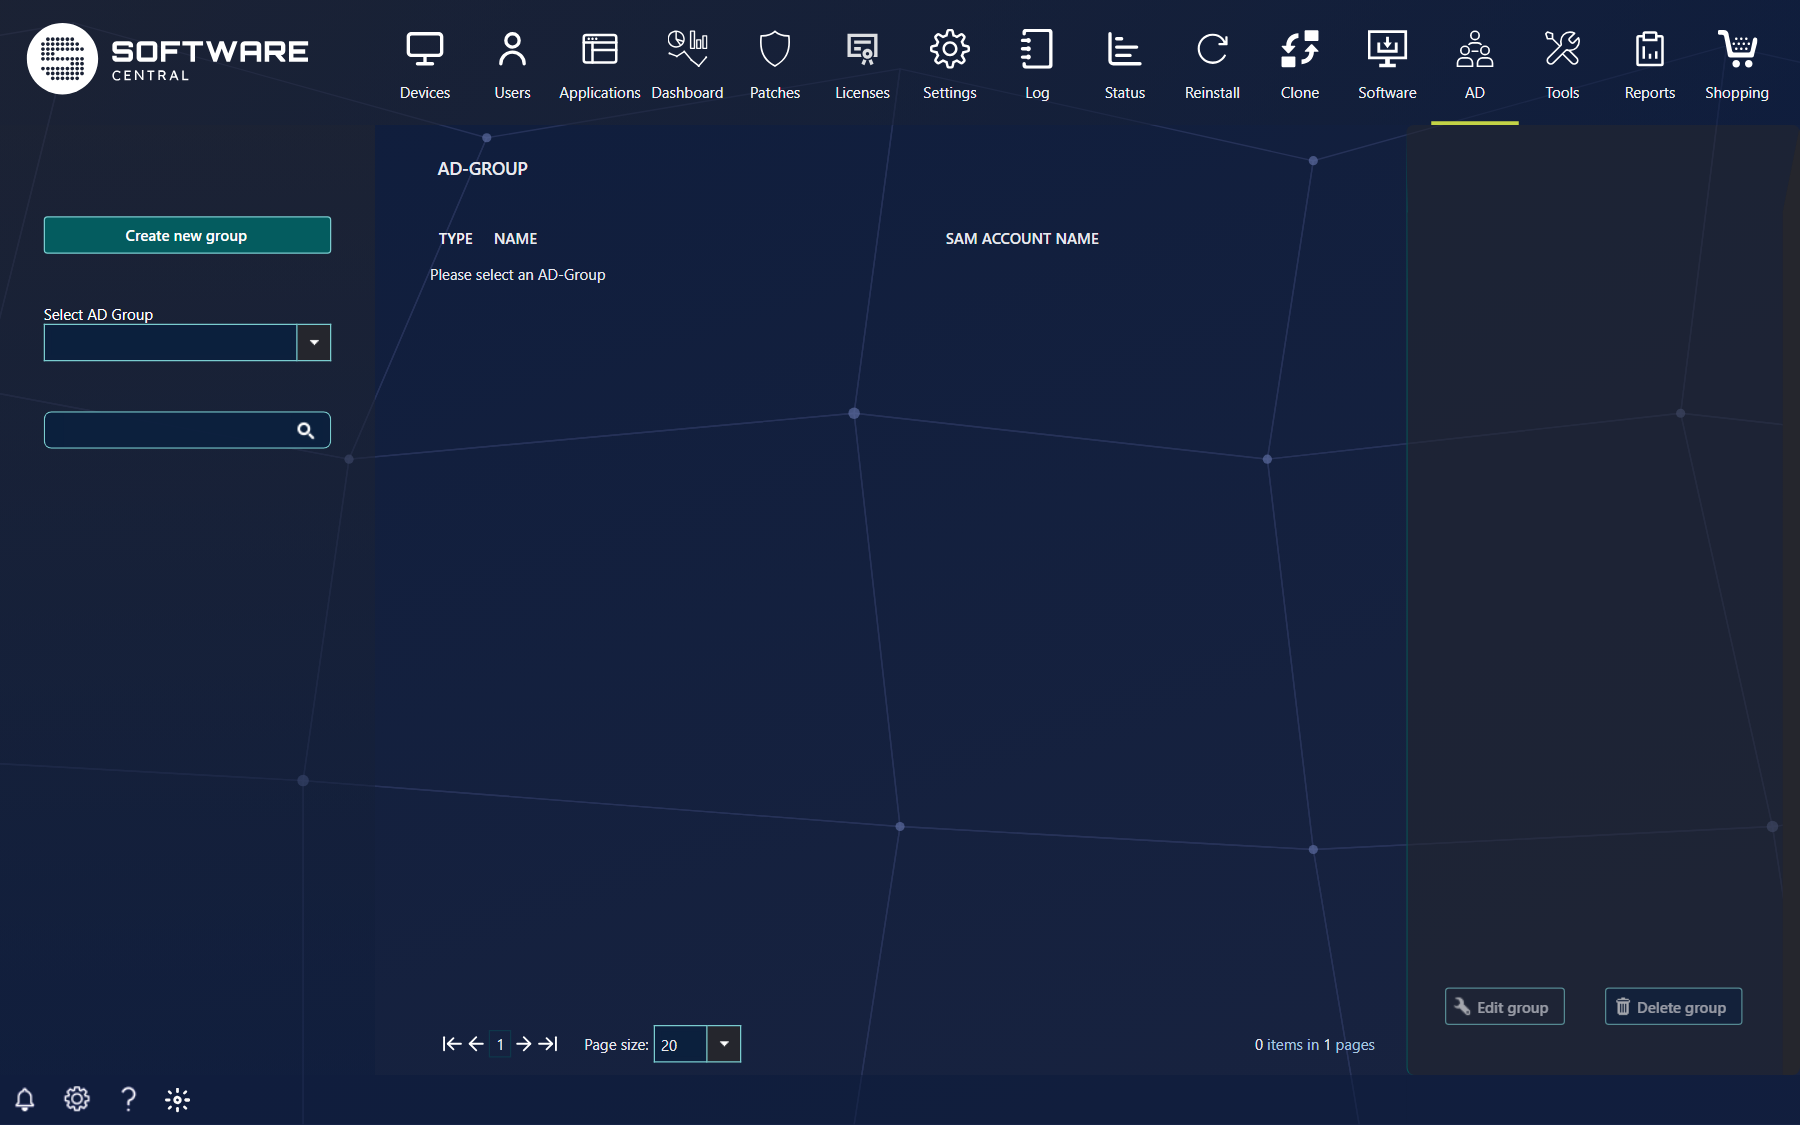
For administration of AD-groups, go to the AD menu button and then AD-Groups.
In the left menu you find the Create new group button, a domain selector (shown only if you have access to more than one domain) and a drop-down box to select the group, labelled Select AD Group. When you have selected a group, the grid in the middle lists its members with the columns Type, Name and SAM Account Name. A member can be a user, a computer or another group. The buttons Edit group and Delete group are found in the bottom right corner.
The buttons are only shown if your security role has the permission to create, edit or delete groups, and you only find the groups that have been delegated to your role. The page is part of the Active Directory Module.
2 Create new AD group
For creating a new AD-group click the Create new group button in the left side of the interface, this will open a new window with the two tabs Group Settings and Members.
In this window there are two mandatory fields that’s needed for a group to be created. The first is the name of the group, and the second is the organizational unit. The name cannot contain any of the characters " [ ] : ; | = + * ? < > / \ , and it cannot be the name of a group that exists already.
| Field on Group Settings | What it does |
|---|---|
| Ad Group Name | The name of the group. Mandatory. |
| Ad Group Mail | The mail address of the group. |
| Organizational Unit | Where the group is created. Mandatory. |
| Group type | Security or Distribution. |
| Group scope | Domain local, Global or Universal. |
| Notes and Manager | A note about the group, and the user who manages it. |
For adding users to the new group, go to the Members tab. There is a search field where the full username can be used, when the correct user(s) is found, check the off and they will appear in the right side of the window, in the list Objects in Group. Additionally another AD-group can be used as a filter to find specific users, and the object types Users, Computers and Groups can be switched on and off. The left list, Available Objects, shows the type, the name and the SAM account name of each match.
Click Save to create the group, or Cancel to leave without saving.
3 Edit AD group
To edit an existing AD group, go to the AD group main interface, and select the wanted AD group in the left menu, this will populate the middle part of interface with all the users inside of this group.
NOTE: A security role can see and remove all users from the group, but can only add new user that it have access to.
Press the Edit group button in bottom right corner and the same window as when you create a group will appear, now just with all the group settings and members in it.
Note: A group can’t be renamed or get its organizational unit changed in SoftwareCentral.
4 Delete AD group
To delete an existing AD group, go to the AD group main interface, and select the wanted AD group in the left menu, this will populate the middle part of interface with all the users inside of this group.
Press Delete group in the bottom right corner to delete the group. SoftwareCentral shows a warning with the name of the group first, and you confirm before the group is deleted.
5 Best practice
- Before you delete a group, look at its members. A group is often used to give access to something, and deleting it removes that access for all its members.
- Delegate to a role only the groups it has to manage, and give editing and deleting to fewer roles than viewing.
- Choose the name and the organizational unit with care when you create a group, because they cannot be changed in SoftwareCentral afterwards.
- Fill in Notes and Manager, so it is clear what the group is for and who owns it.